Docker: Top-Down Overview
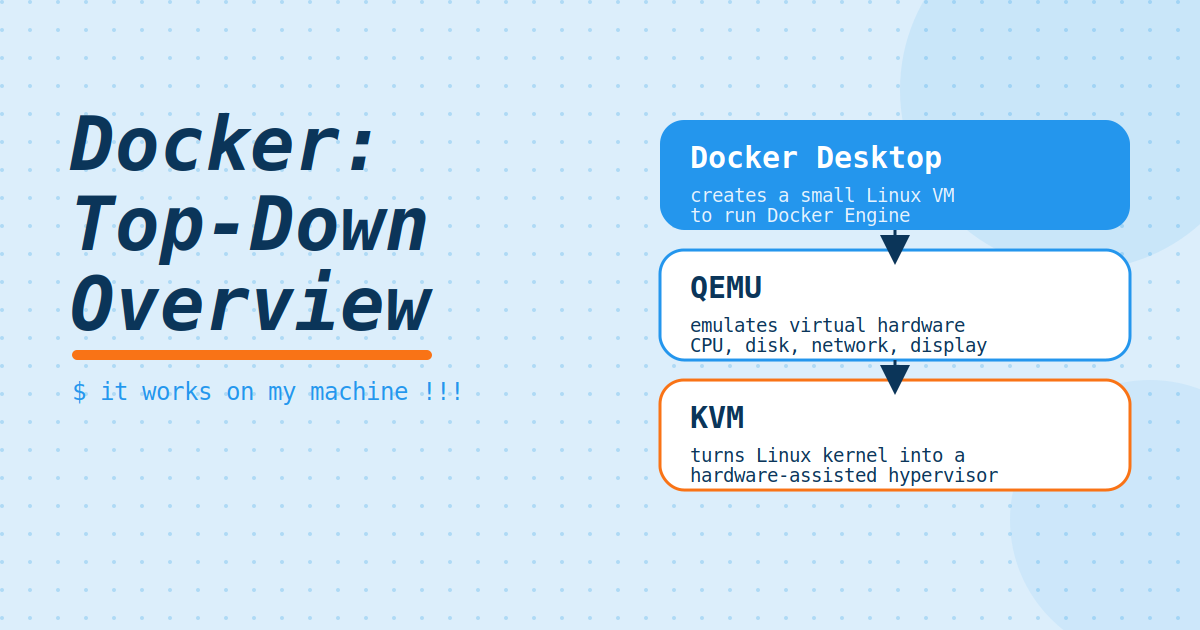
It works on my machine !!!
I am using Fedora VM so I am following installtion on Linux guide for Docker Desktop.
Under general requirement, it says Docker desktop depends on KVM virtualization and QEMU. What does it mean?
Don’t be confused. Docker itself doesn’t normally depend on KVM or QEMU. Docker engine runs directly on Linux. Docker containers share the host’s Linux kernel. Docker uses Linux features called namespaces to keep containers separated and control groups, or cgroups, to limit CPU and memory use. It does not need to create a separate virtual computer for every container.
On the other hand, Docker Desktop creates a small Linux virtual machine. That VM uses:
- KVM to run efficiently on the real CPU.
- QEMU as part of the virtual-machine environment.
- Docker Engine inside the VM.
- Containers inside that Docker Engine.
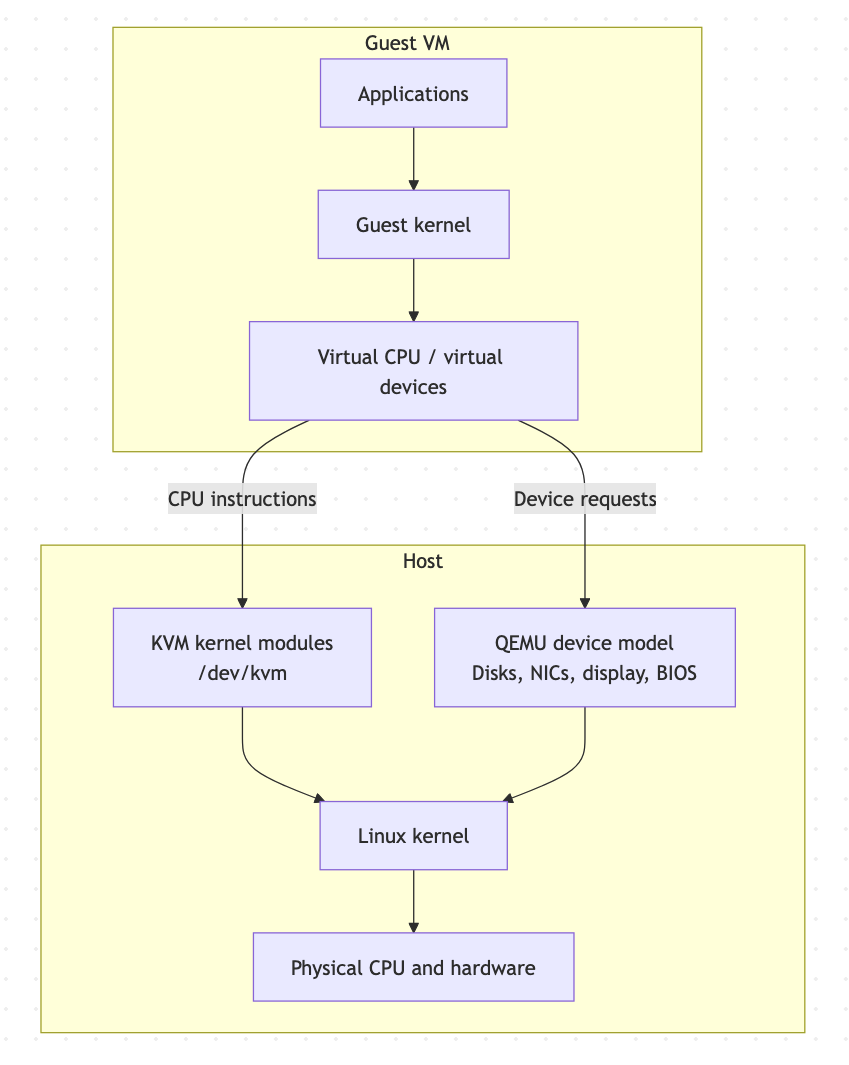
Lets briefly tocuh on KVM and QEMU before diving into Docker Desktop installtion. QEMU as the name suggest- Quick Emulator creates virtual machine model- motherboard, firmware, disks, network cards, display, USB ect. It can even emulate the CPU. But the software emulated CPU can be slow- thats where the KVM comes in. Kernal-based Virtual Machine turns Linux kernel into a hardware assisted hypervisor. It lets normal guest CPU instrcutions run directly on the host CPU.
Installation
Installing using rpm repository
1
2
# Set up the repository
sudo dnf config-manager addrepo --from-repofile https://download.docker.com/linux/fedora/docker-ce.repo
Download the latest RPM package.
Install the pacakge with dnf
1
sudo dnf install ./docker-desktop-x86_64.rpm
Unfortunately, the above process didn’t work for me. I am using M3 mac, runing VMware hypervisor on it and running Fedora inside it, now I am tryring to install Decoker desktop (another VM) with in Fedora (another VM).
1
2
3
4
5
M3 Mac
└── VMware Fusion VM
 └── Fedora
     └── Docker Desktop VM
         └── Containers
This is virtualization inside virtualization. Broadcom states that nested hypervisors are generally unsupported in Fusion and that Apple-silicon Fusion hosts do not currently provide nested virtualization.
Instead, lets roll with docker engine, who cares about the docker GUI, I am a command line hero, yeah- lets do it. Only if I knew how to get out of VIM :). Here is how it will look now.
1
2
3
4
5
6
M3 Mac
└── VMware Fusion
    └── Fedora ARM64
        └── Docker Engine
            ├── Container A
            └── Container B
I am going to put a hold on this thought for now. Let’s pivot to installing Docker Desktop for MacBook. We will revisit the docker engine after gaining familiarity with the Docker Desktop.
Installation on MacBook
Download link Apple Silicon
Running first container
1
docker run -d -p 8080:80 docker/welcome-to-docker
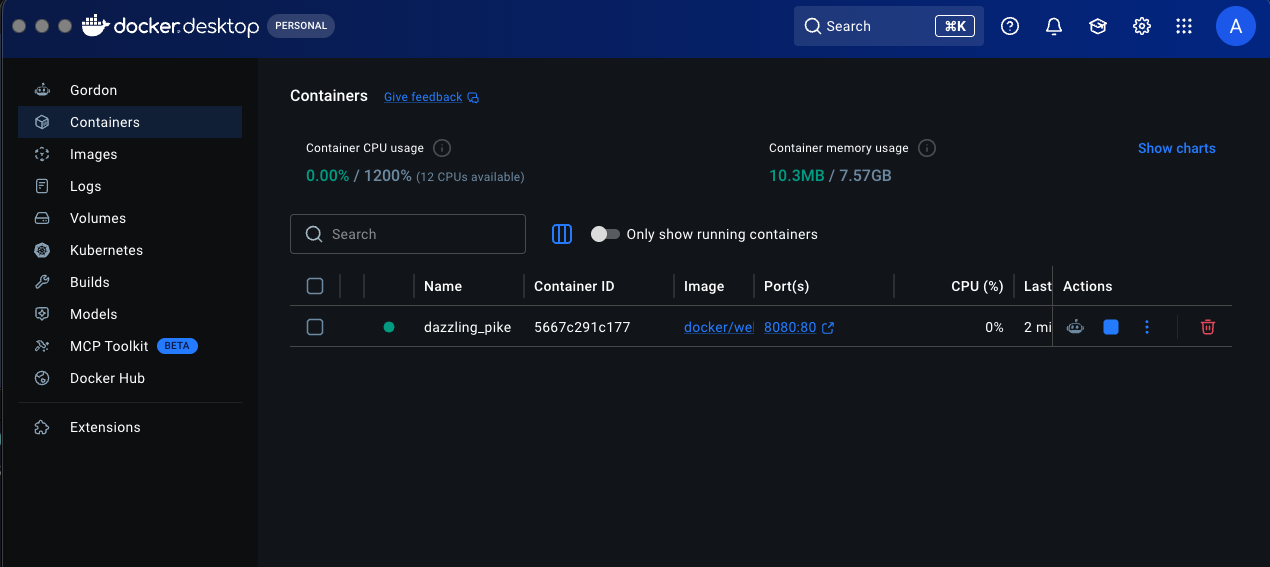
And here is how it looks:
1
http://localhost:8080

What is happening behind the scene?
- docker run — Creates and starts a new container.
- -d — Runs the container in detached mode, meaning it stays in the background.
- -p 8080:80 — Maps port 8080 on your computer to port 80 inside the container.
- docker/welcome-to-docker — The Docker image used to create the container.
Useful follow-up commands:
1
2
3
4
5
6
7
8
9
10
docker ps # See the running container
docker logs <container-id> # View its logs
docker stop <container-id> # Stop Container
docker rm <container-id> # Remove the stopped Container
docker run -d --name welcome-app -p 8080:80 docker/welcome-to-docker # You can also give it a friendly name

docker stop welcome-app # manage it using the name
docker rm welcome-app # manage it using the name

docker run -d -p 8081:80 docker/welcome-to-docker # If port 8080 is already being used, change the first port number
1
2
docker start <container-id> # To start stopped container
docker rename <container-id> <new-name> # To rename already running container
1
2
docker images # To see locally downlaoded images
docker image inspect docker/welcome-to-docker # To see the full registry and repository information
Develop with Containers
Resource link
1
2
git clone https://github.com/docker/getting-started-todo-app # Downlaod the project
cd getting-started-todo-app
1
2
3
docker compose watch

docker compose stop # to stop
Wow, what just happened? I am blown away. The things going on behind the scene is insane, I will definitely revisit it later but for now let’s cut the noise and highlight key things that happened.
Lets start with the project file. Here is the snippet:
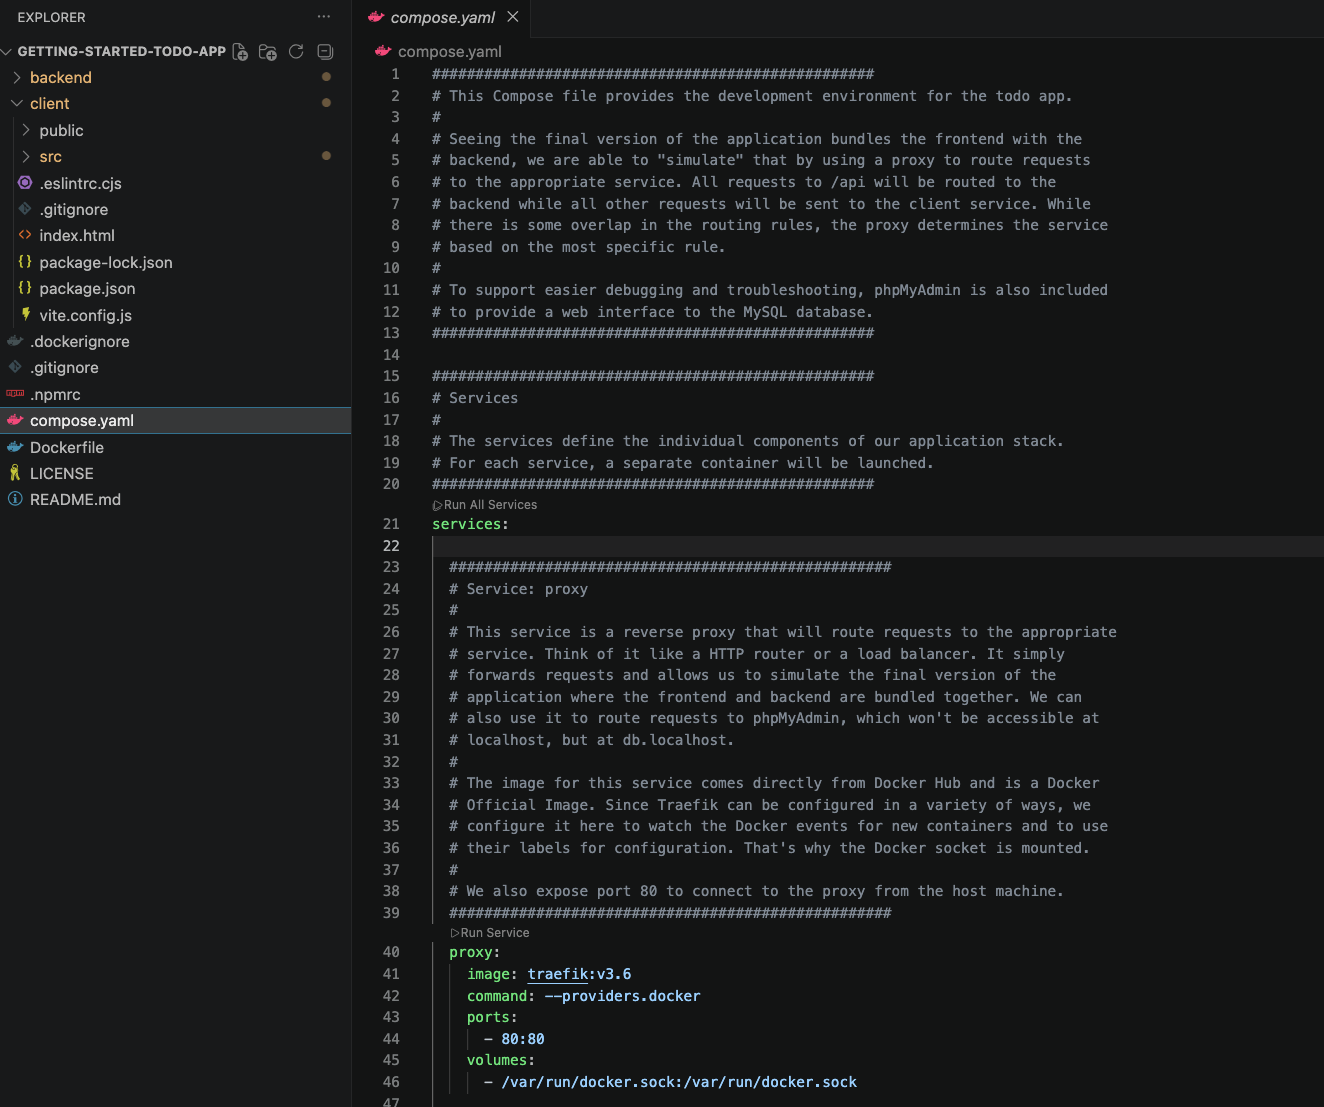
And here is the snippet from terminal
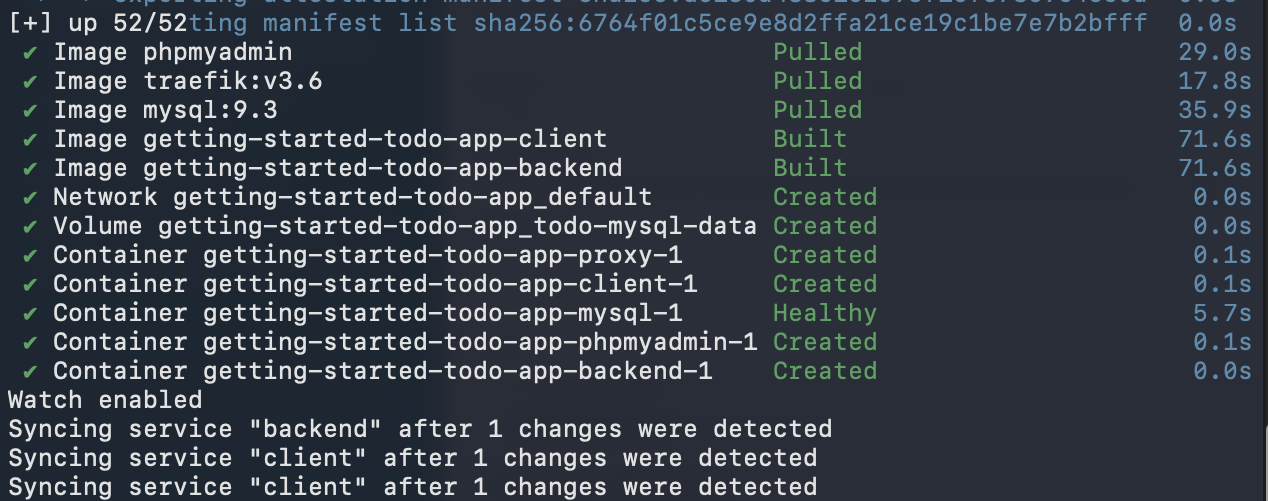
What is happening?
- It appears, Docker reads compose.yaml file. That file describes the complete application environment- not just one container.
- Docker download these images from Docker Hub when they are not already available locally (as in terminal snippet above)
- Application images are built locally - The frontend and backend are built from the project’s Dockerfile (Confusing, I will revisit this later)
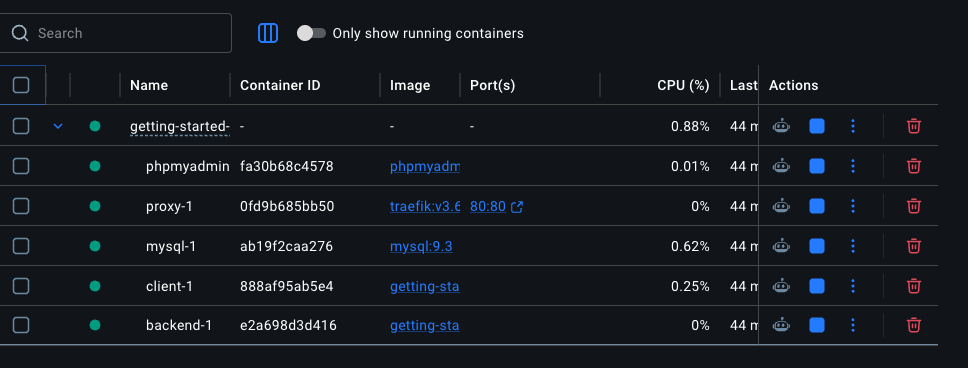
- Compose creates a private Docker network so containers can communicate using their service names. Meaning- In the below screenshot, we can see the app is made up of five containers and they need to communicate with each other.
1
2
3
docker compose down # Remove the container and network

docker compose down --volumes # To explicitly remove the volumes for e.g MySQL

Now that we are a little bit familiar with the development process. We will get our feet wet by moving on to Build and push process.
Build and push your first image
Before proceeding, let’s clarify the confusion between container and image.
1
2
3
4
5
6
7
8
9
Dockerfile
    |
    | docker build
    v
Docker Image
    |
    | docker run
    v
Container
1
docker run -d -p 8080:80 docker/welcome-to-docker
Here:
- docker/welcome-to-docker = image
- running welcome website = container
How do you define container?
A running, isolated environment that contains an application and everything the application needs to run.
1
2
3
4
5
6
7
Container has
├── Application code
├── Runtime
├── Libraries
├── Configuration
├── Internal filesystem
└── Startup process
Let’s get back to the topic:
If you already don’t have the account for Docker, please create one. I am using the same account I used for Docker hub and it is working fine.
Here is the link to Docker Home
Creating an image repository
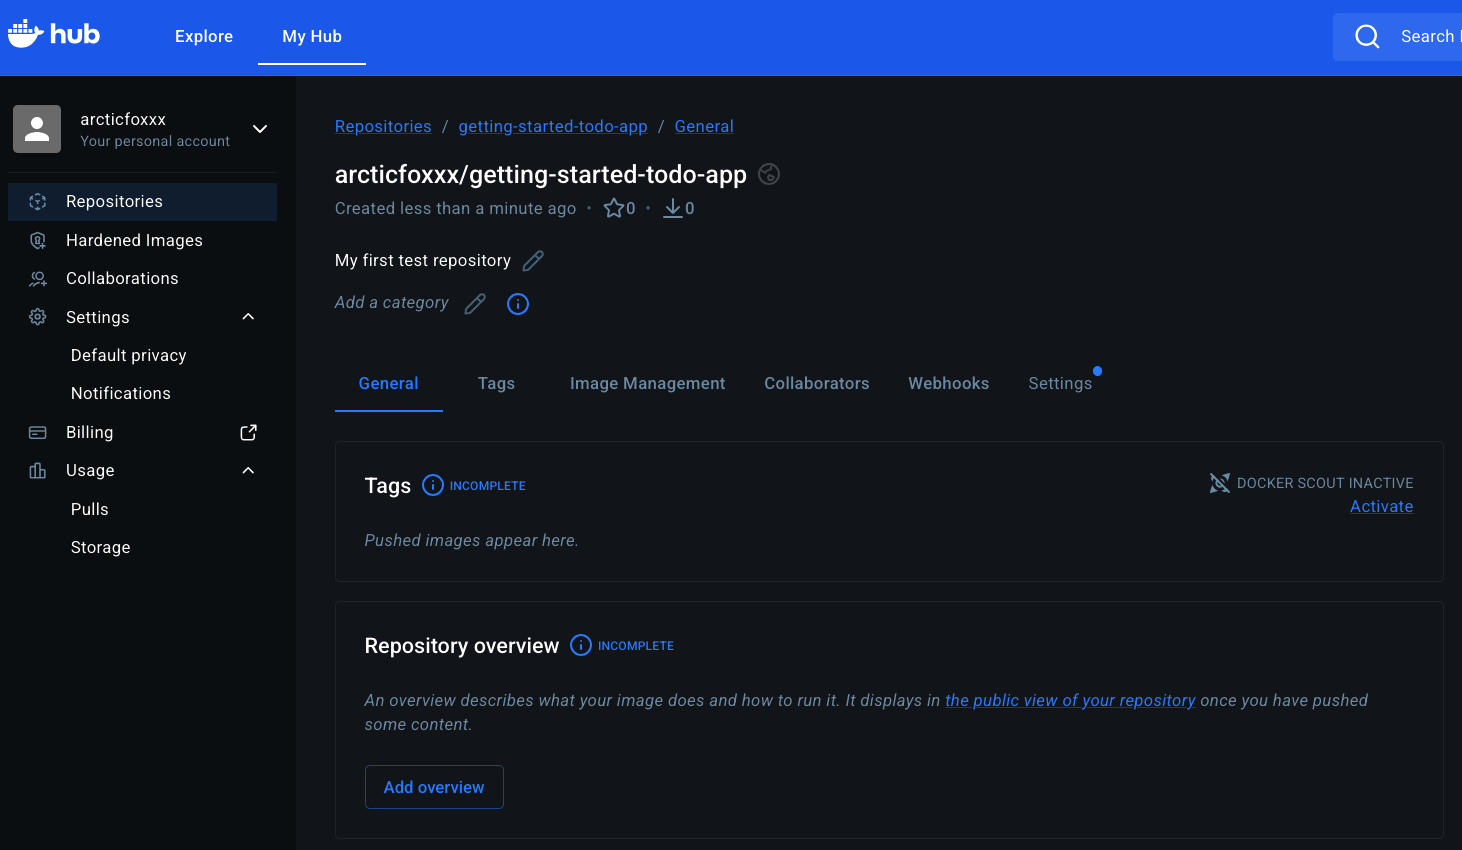
Here is how my repo looks like fater signing in and creating the repo.
- Go to Docker Hub.
- Select Create repository.
- On the Create repository page, enter the following information:
- Repository name - getting-started-todo-app
- Short description - feel free to enter a description if you’d like
- Visibility - select Public to allow others to pull your customized to-do app
Build and Push the image using CLI
1
2
3
git clone https://github.com/docker/getting-started-todo-app

cd getting-started-todo-app
1
2
3
4
docker build -t <DOCKER_USERNAME>/getting-started-todo-app . # t stands for tag, implicitly "latest" tag is attached

# Lets say I want to version it then the command will look something like this
docker build -t satishkarki/getting-started-todo-app:v1 .
1
2
3
docker image ls # To verify the image exists locally

docker push <DOCKER_USERNAME>/getting-started-todo-app
The command here looks similar to how we work with the git. I love it. Kudos to who ever thought of it.
One thing to notice here is that this example repository already includes docker file. It is a text-based script that provides the instruction set on how to build the image.
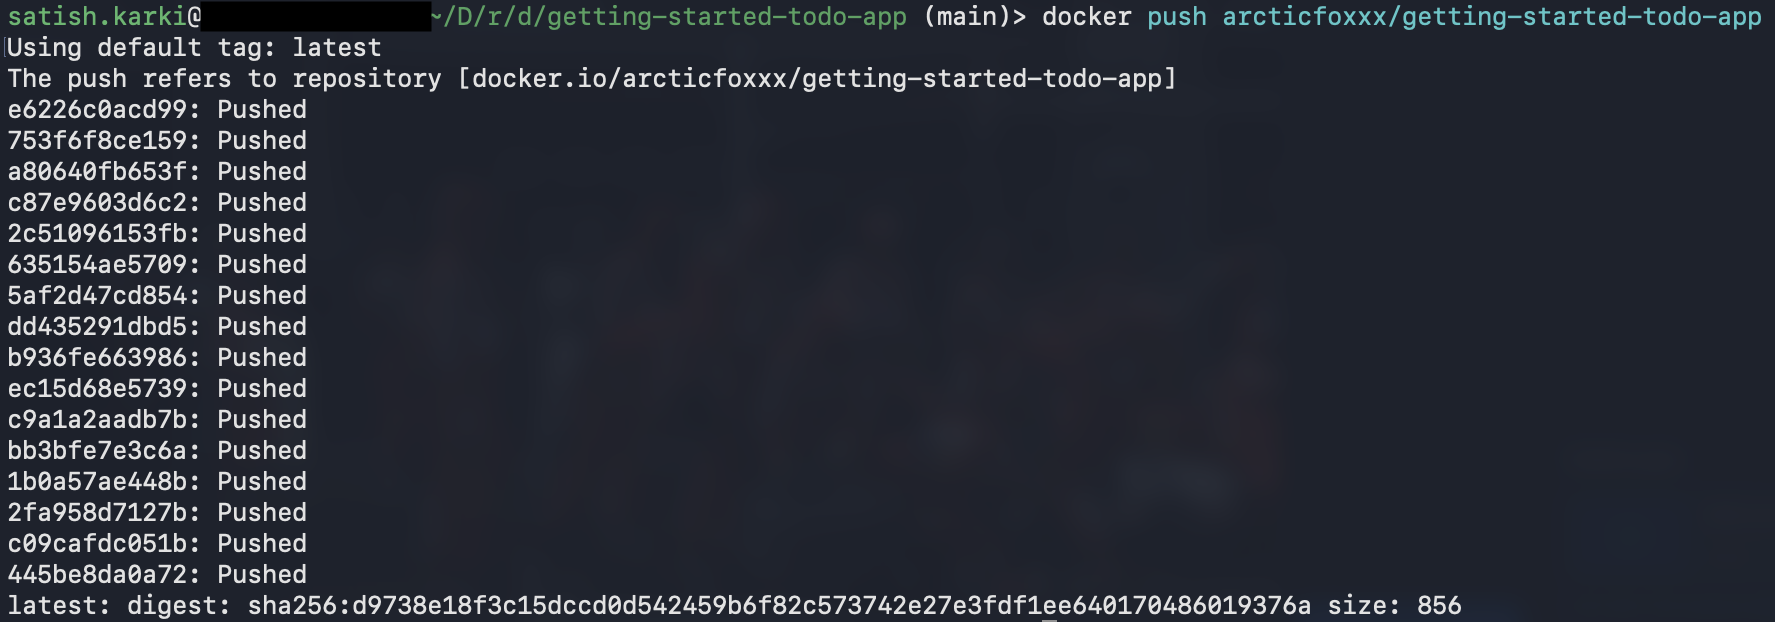
Build and push process using the VS Code Extension is here
Now that we have gone through the quick rundown of how the docker works and how it helps solve the problem of “It works on my machine”. Next we will look into the nitty gritty of the technical details including the docker file and compose.yml
Stay tuned!!!